


No Whey-ste Shokupan
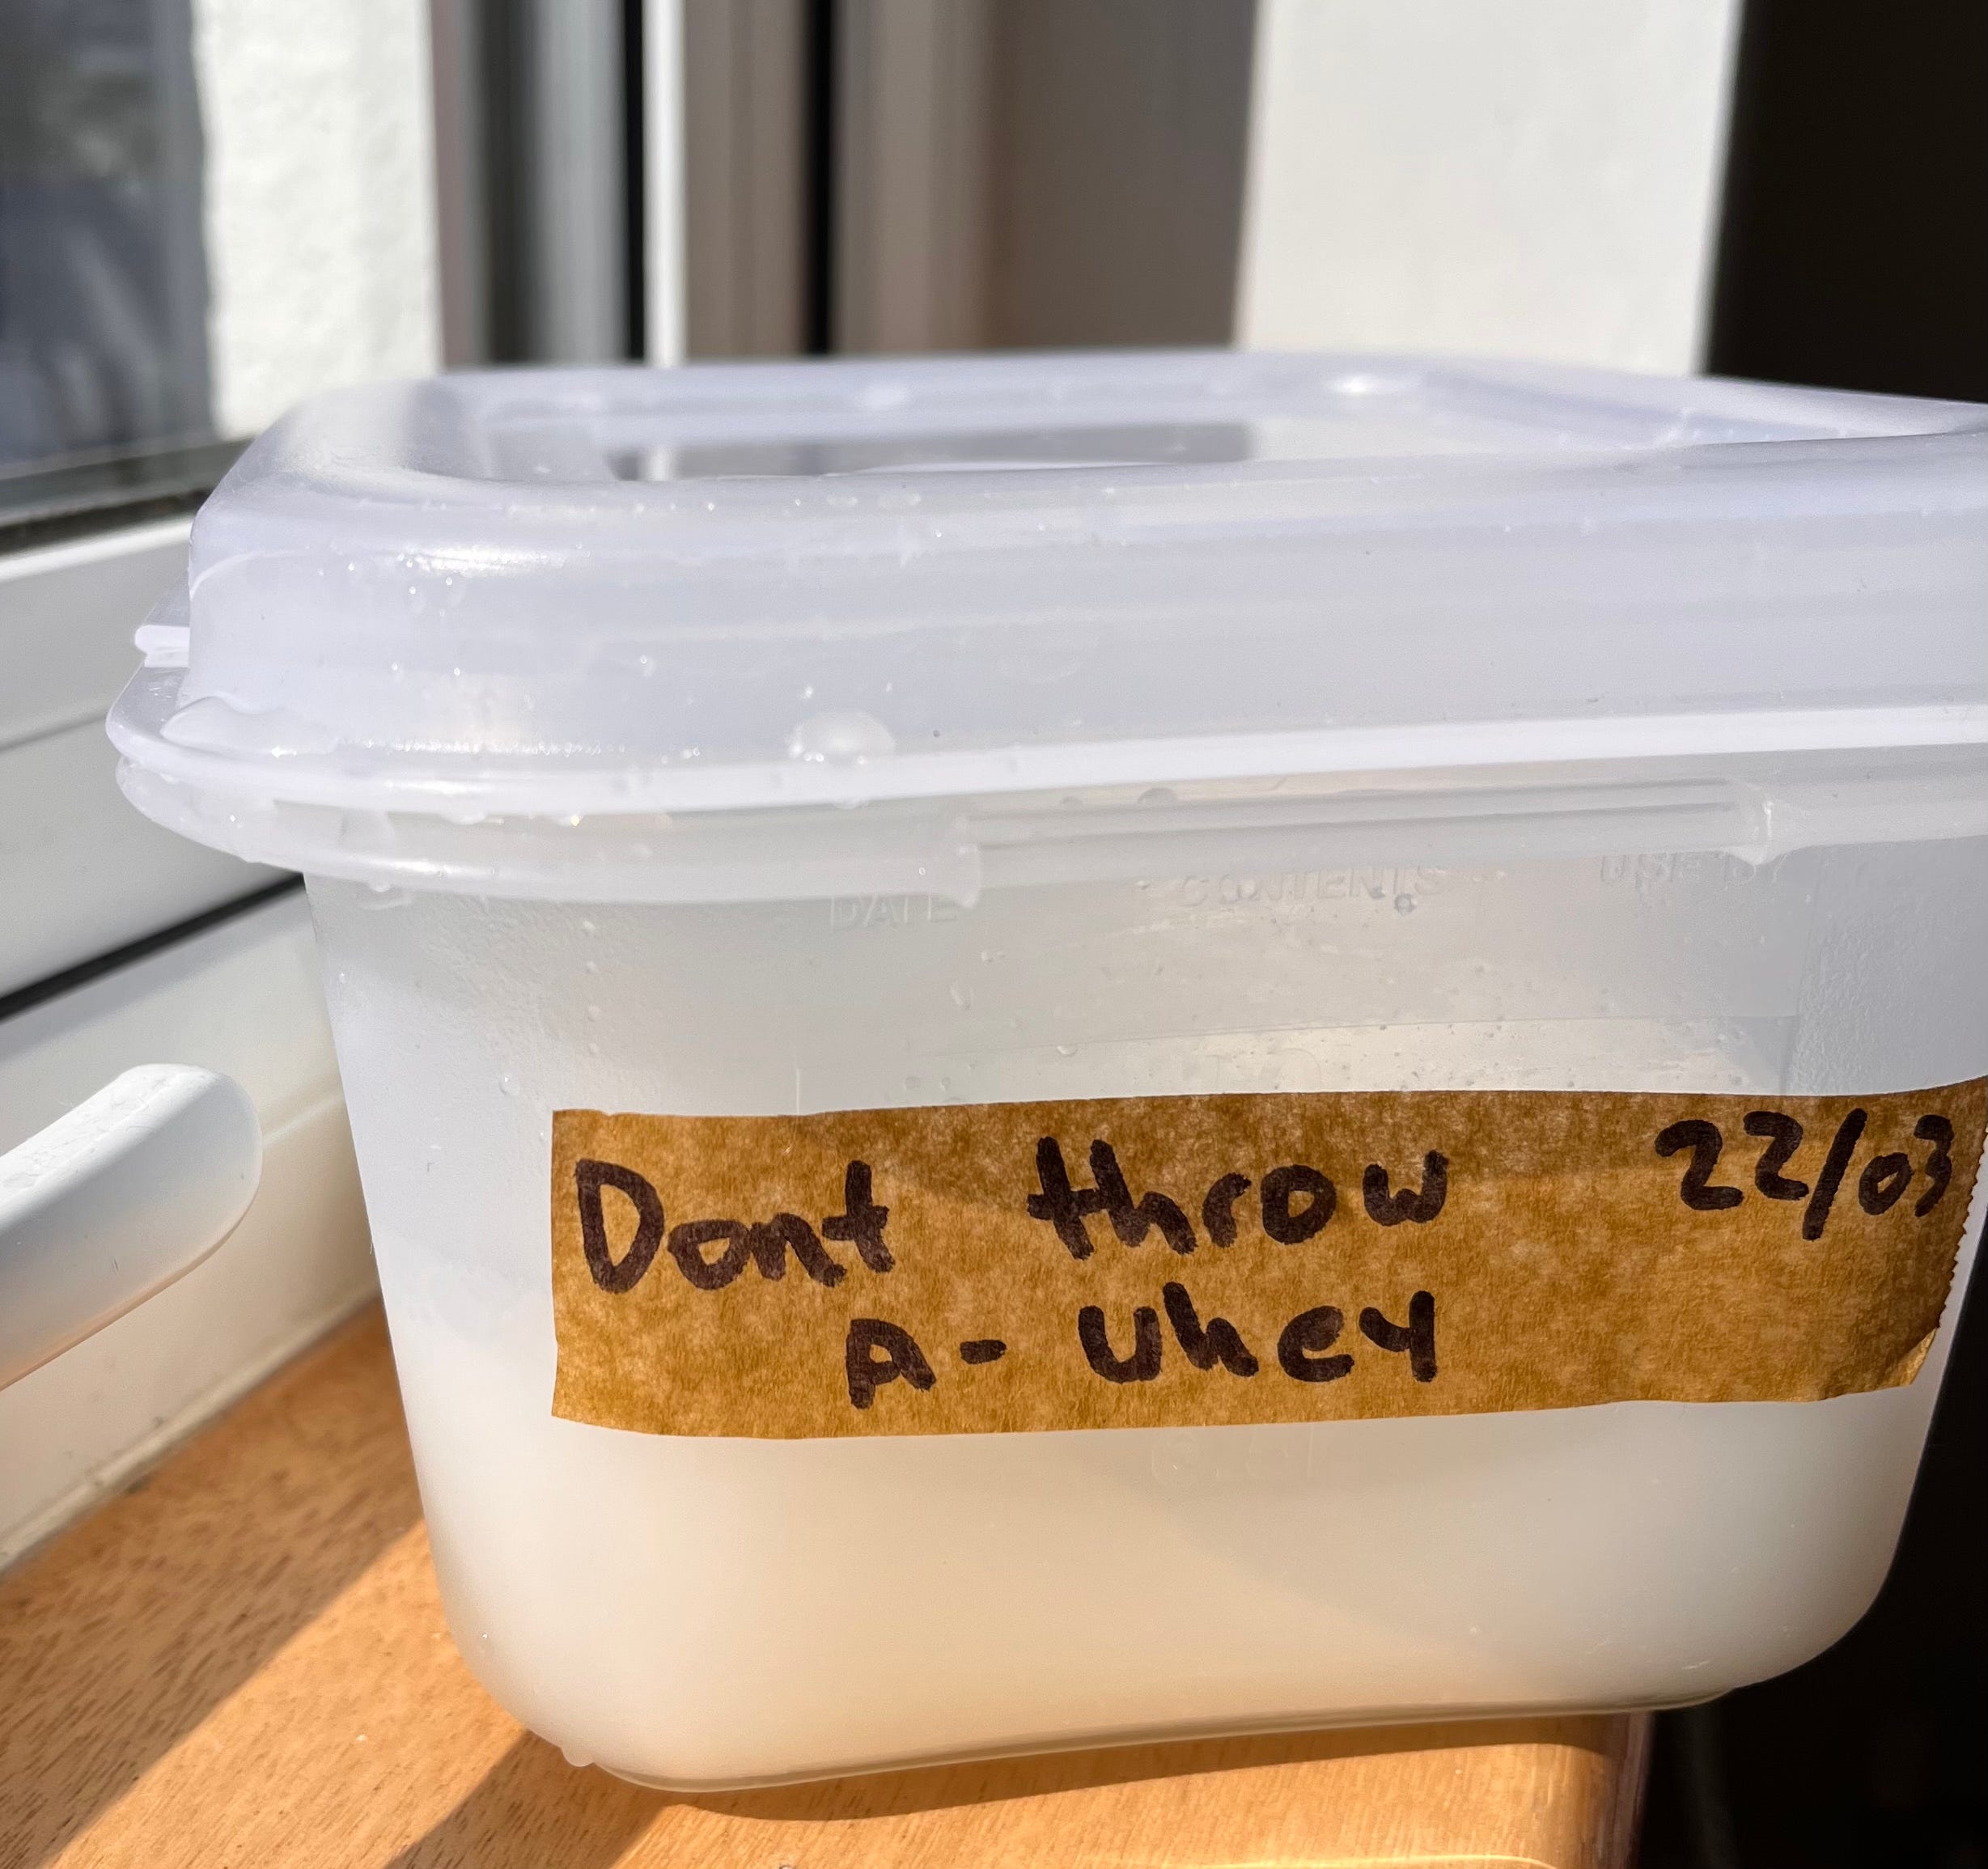
SCÉAL #04 - I don't throw anything a-whey, not even a bad pun!

Hi fellow bread heads, this one is a bit of a deep dive into the dough development of our latest loaf and later how it transformed into two Scéal special bakes. Enjoy!
How It Was
There are one or two things that I do in the bakery that could be perceived as bad habits or, by some, as very, very annoying. Saving leftovers or waste from the production of various items is one. Admittedly, with great intentions I mean to use them up in creative ways. Only to result in the same little scraps getting thrown out much later on. Usually by some poor unfortunate person doing a deep clean of the fridge. Yes, I am guilty. I leave it for someone else to do what I just can’t bring myself to do and throw these precious products out.
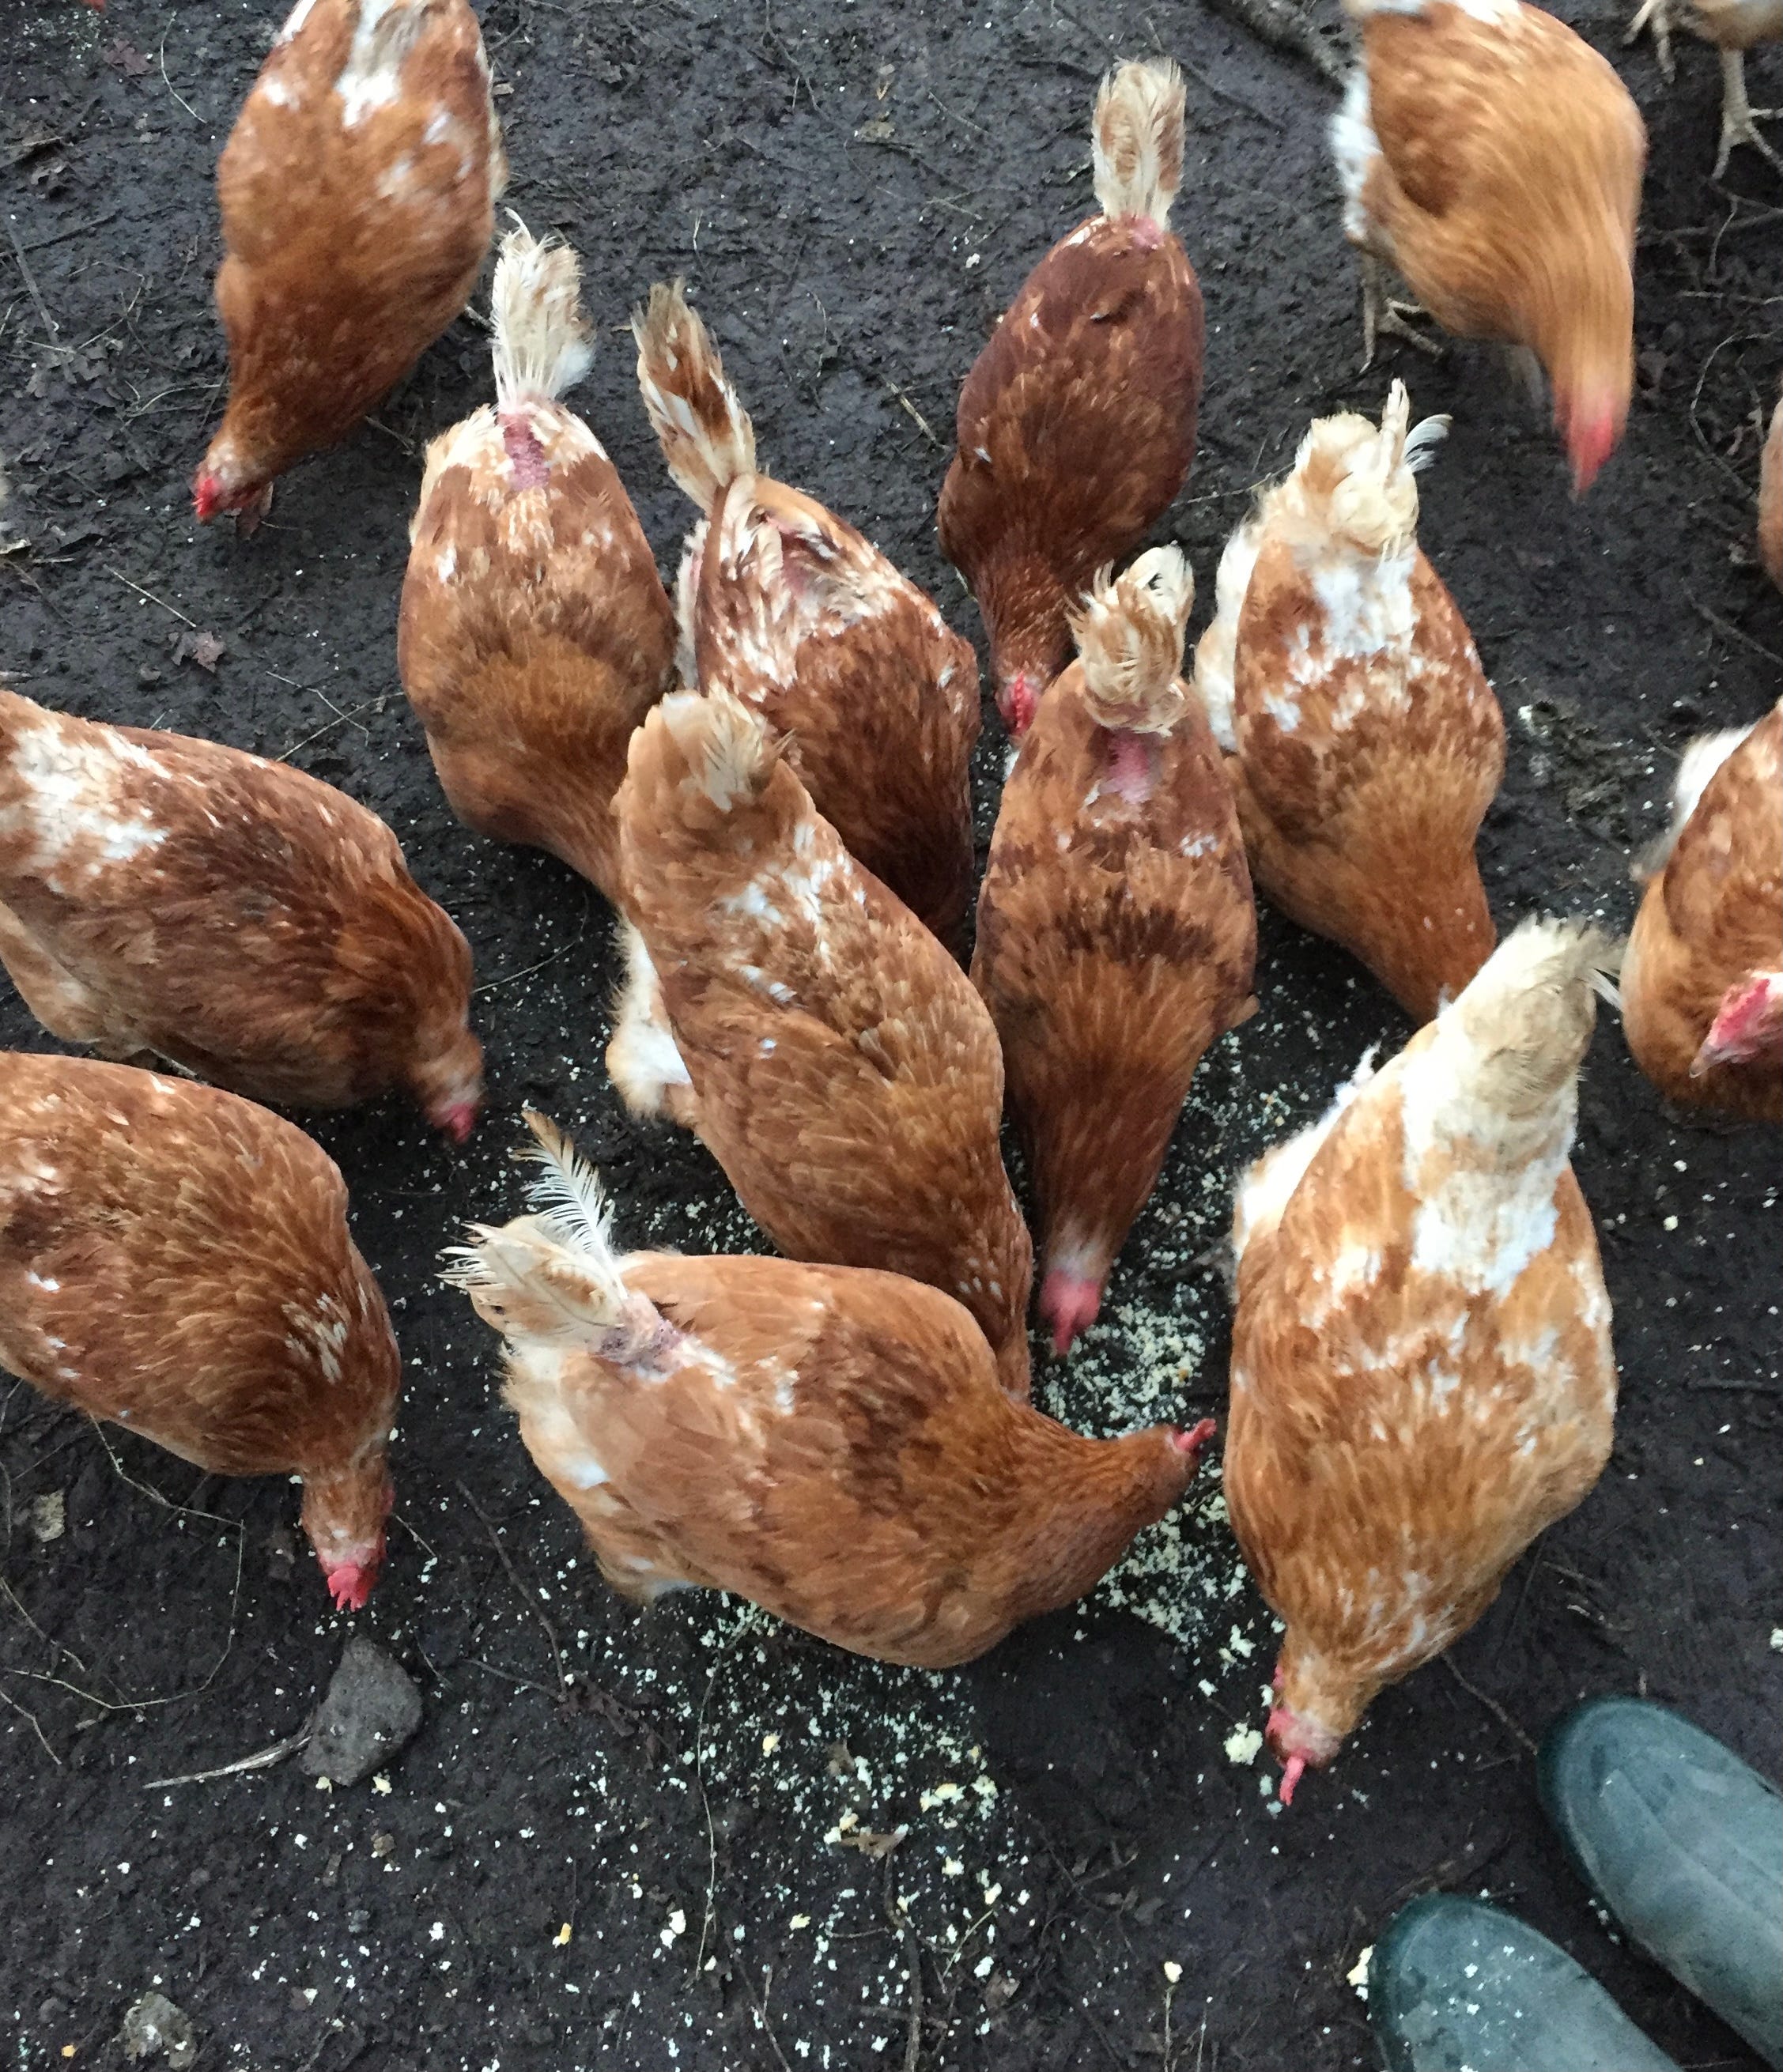
I grew up in a large family. We ate fast, in the hopes of a second helping of what little leftovers hid on the hob. Clearing our plates in seconds, wasting nothing. Growing up on a farm meant even the skins and scraps from cooking dinner got boiled down to feed the chickens. We worked hard for our food, digging spuds was a punishment for being bold. One of the hardest jobs I remember was hand milking the cow. My brother and I took turns, helping out when my Dad didn’t have time.
Once a week, Mam would skim the cream that settled on top of that milk bucket. She took a portion of warm milk to make yogurt in her favourite flask. The yoghurt sat out overnight, propped next to the Stanley cooker, as it transformed and thickened. I remember that yogurt being the creamiest, most delicious reward from all the effort of milking our fantastic Friesian, Bessie.
I always enjoyed it fresh and tangy, sweetened ever so slightly with a swirl of honey. It never lasted long, I don’t know if it was the extra-creamy nature or the freshness of this unpasteurised milk but it made it the most amazing yogurt. Or perhaps it was just the hunger we had on us after all the hard work and waiting! But honestly, it was one of the greatest gifts for all that graft. I haven’t had much luck recreating it! I’ve had to park that pursuit of producing my own yogurt. I will revisit this another day, maybe when we have a little land and space for a couple of cows.
How It’s Going
Charlotte recently went on a different discovery by creating her own cream cheese for our Everything Croissant. Essentially, she seasons and strains large amounts of yogurt. This produces a thick, lovely Labneh. It inevitably produces a tub of whey. In my attempts to reduce waste, I have tried using it in breads and baked goods, and even reducing the whey into a syrup.
All attempts seemed overly laborious, used too much additional time and energy, or just weren’t that good. So I parked that project for a while, and the whey fell, well, by the whey side. That was until a recent trip to London inspired me to start developing a Japanese milk bread (shokupan) for the bakery. A light bulb went off on my second or third iteration of the dough development.

This particular recipe calls for a portion of the flour to be cooked out in a method known as Yudane or Tangzhong. This is a technique that involves cooking a portion of the flour and liquid into a thick paste, also known as pre-gelatinised flour or PGF. This is then cooled and added to the rest of the ingredients. A ‘Yudane’ typically uses a ratio of 1:1 flour and water, whereas ‘Tangzhong’ is made with a 1:5 ratio of flour to water.
This method was first developed in Japan in the 1990s by the baker Yvonne Chen. She discovered that adding a yudane to bread dough resulted in a softer, more tender crumb and a longer shelf life for the loaf. Once I started to recipe test, my results and curiosity took me down a little rabbit hole.
Why does this work? Why does precooked flour make a ‘lighter, fluffier bread’? The truth is, it doesn’t! During the trial phase, I found many different recipes. All with varying amounts of Yudane, even some slurries made with rice flour (Tangzhong method).
The conclusion I drew from my many trials and research was that this technique of using PGF did result in the bread staying fresher for longer, but had little effect on how soft the final result was! This has to do with the way this technique allows the flour to absorb more liquid while still maintaining its structure and integrity. In fact, flour will absorb twice as much hot water or milk as it does the cool/lukewarm water or milk. Not only does the starch absorb more liquid; since heating the starch with water creates structure, it's able to hold onto that extra liquid throughout the kneading, baking, and cooling processes. This also leads to a dough that is less sticky, gives more rise from the additional steam
In a side-by-side comparison, a milk bread with a portion of cooked flour vs. one without bakes off just as light and fluffy. By day three, however, the one with precooked flour remains softer, and in some cases the one without, the crumb was seen to be twice as hard. These experiments and information are outlined in Modernist Bread, on this culinary institutes website and what I observed at the bakery.
As it turns out, the softness is more closely related to the butter, egg, milk, and sugar in this enriched dough! The fairly traditional recipe I originally found had no egg or sugar, as it was mainly being used for katsu sandos and other savory applications. Not great for a slab of soft French toast or creamy light buns.
And Going…
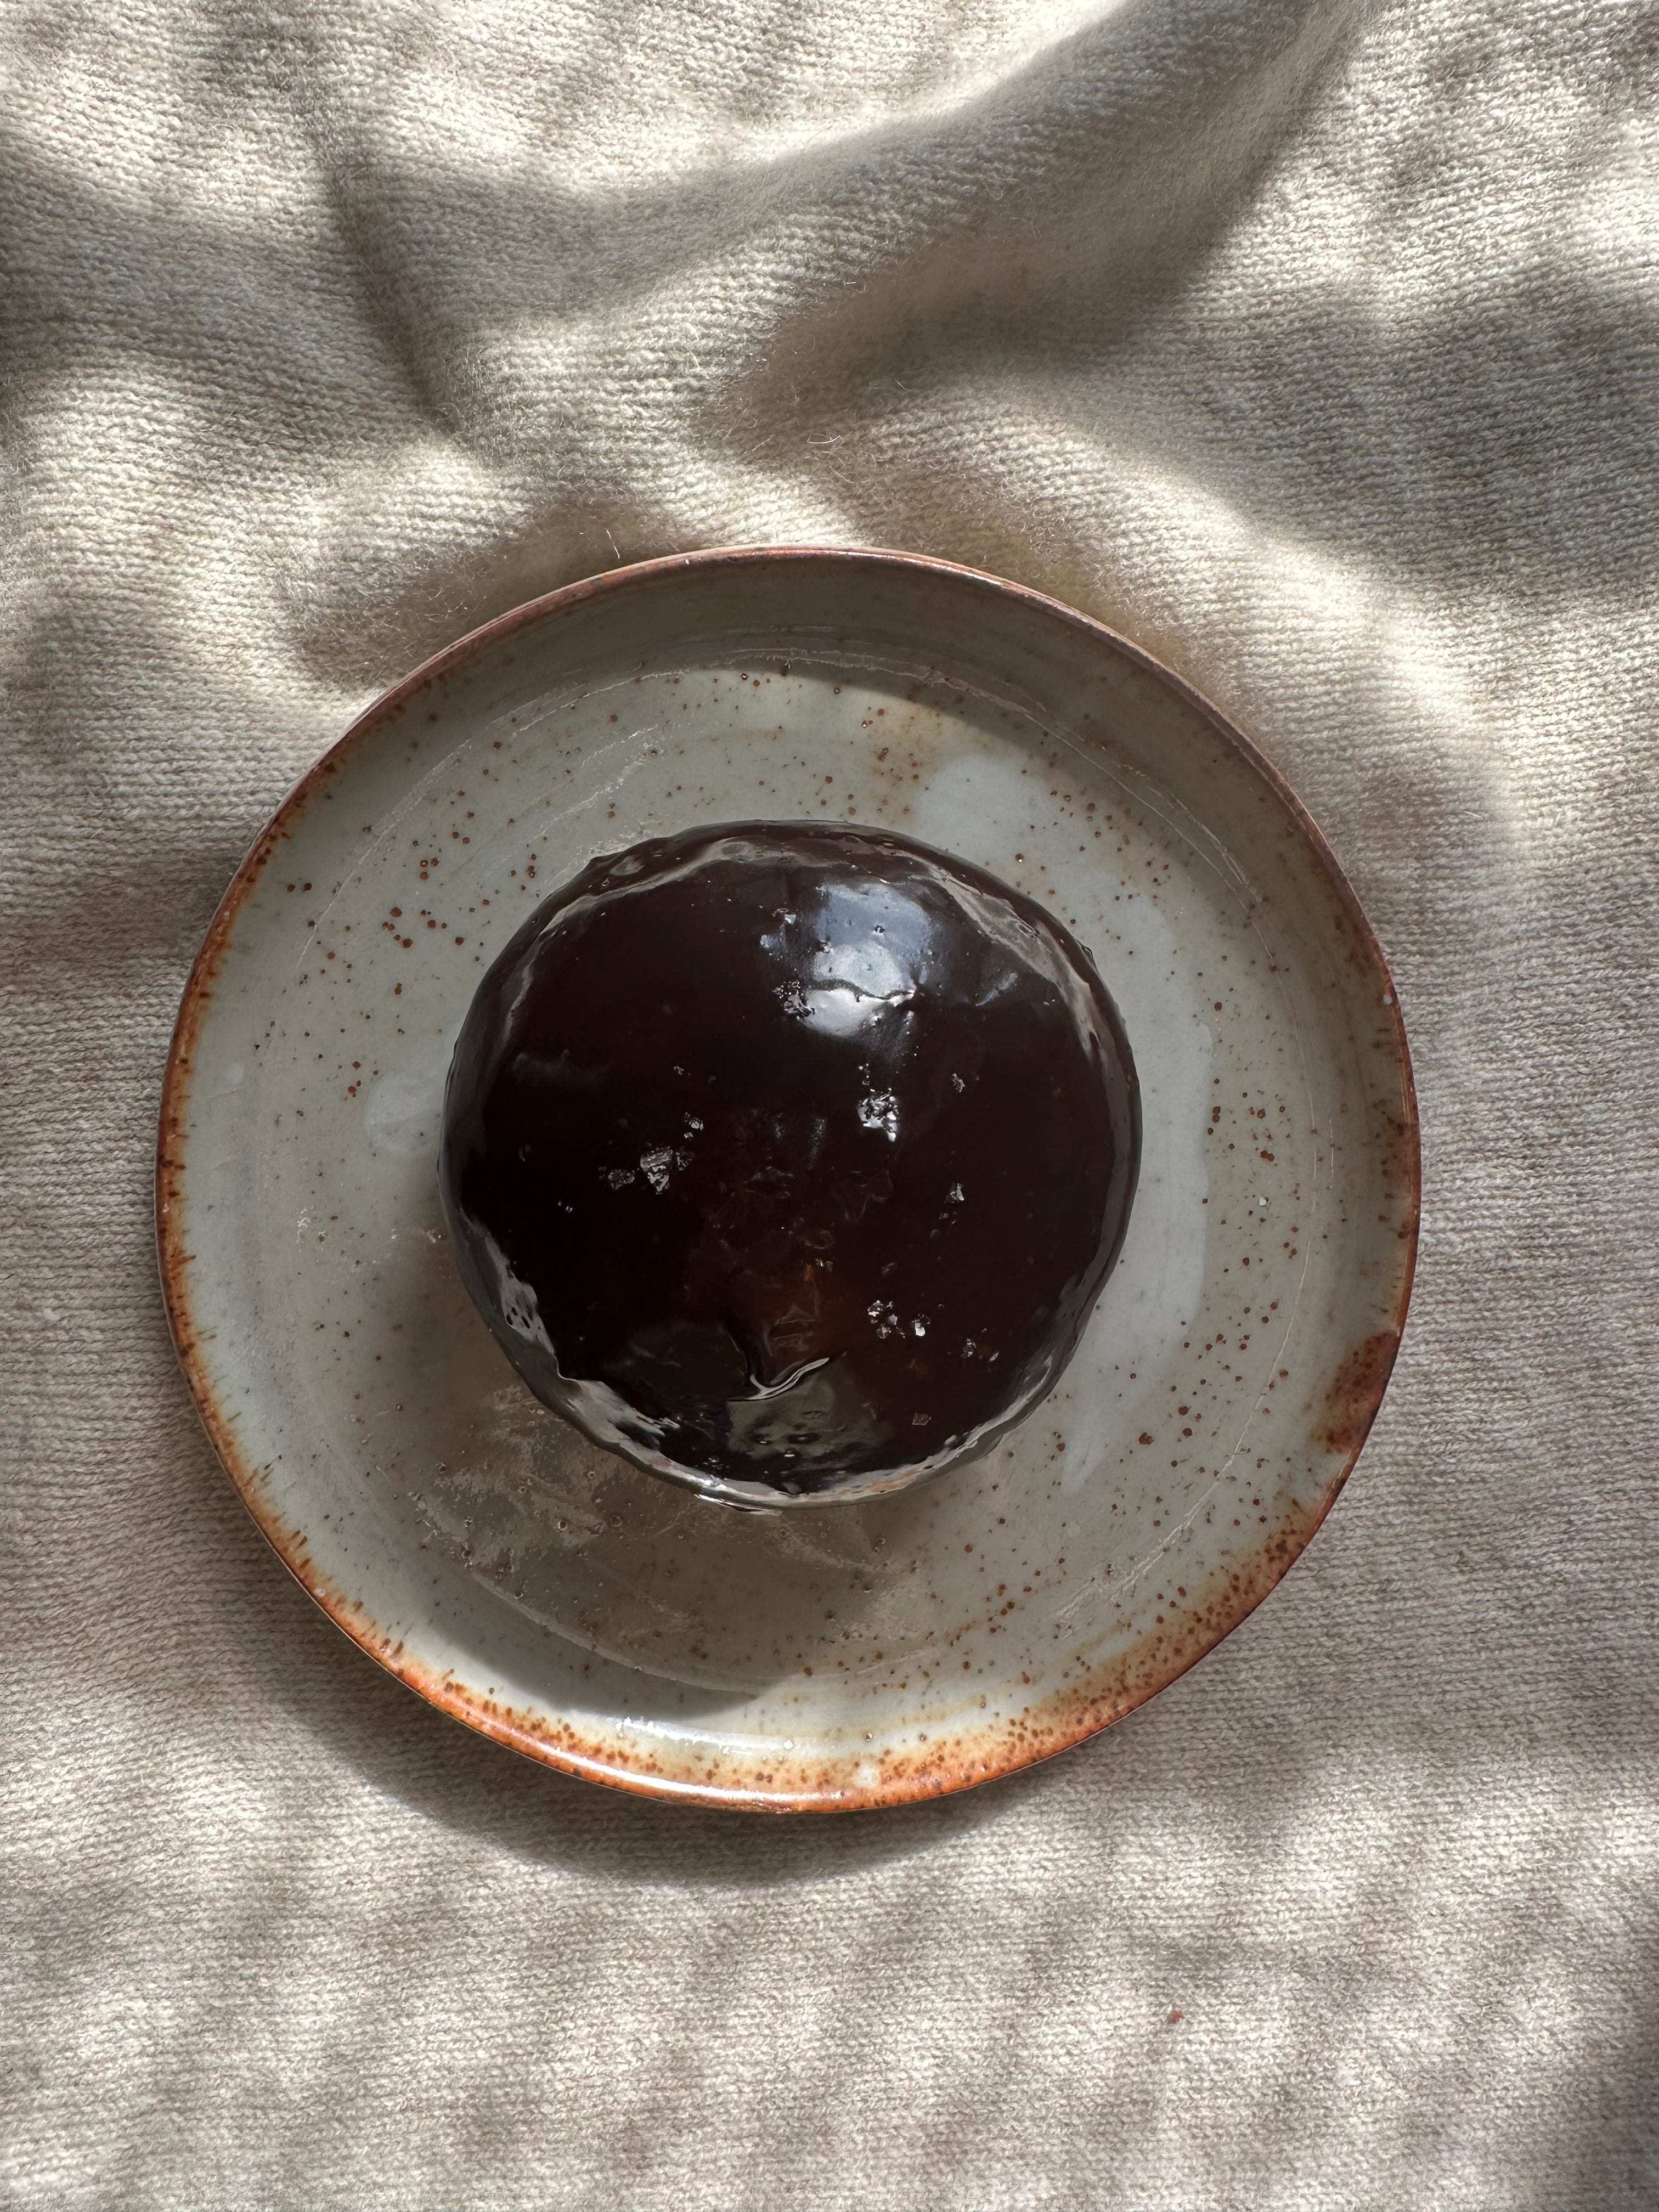
After that trip to London I desperately wanted to recreate a cream bun we first tasted at renowned bakery Arôme. It's a sumptuous, soft, and sweet brioche bun with a luscious custard filling and a chocolate on chocolate glaze. I knew some sweeter adjustments would have to be made to my recipe if I was to do this homage justice, all while sticking a Scéal spin on it.


My memories of Mam making yogurt guided the concepts core principles. Landing on a sweet honey bun, filled with a deliciously creamy vanilla crème diplomat (half crème pâtissière, half whipped cream), topped off with a shiny, silky smooth, burnt honey, chocolate, and sea salt glaze - adapted from a gorgeous glaze generously shared from Charlotte’s long larder list of recipes!
But as delicious as this concept and combination sounds, it would be useless unless the vehicle for flavour, the bun, wasn’t right.
I knew it needed sugar, honey, or both in the dough. It also needed a little egg for softness. Knowing if I adjust the egg then I would be sacrificing the milky flavour because I also wanted to keep the hydration level in the safe 60% range! All the while, the whey from the yogurt had me thinking of nostalgic memories and about the honey I had stirred into that sumptuous yogurt all those years ago. All this was swirling in my head when the lightbulb went off! I landed on the idea of boiling the whey for the liquid in the yudane instead of water.
I was confident this would max that milky flavour, while also enriching the dough. I wasn’t expecting a straight swap. I would surely have to adjust some other ingredients accordingly to achieve the results I was after. As from previous experience - it’s always prudent to only change one ingredient at a time when recipe testing. Patience prevails and that way you can fully see the effect of that one simple change. The overall taste improved and there was added softness, but not the squishy bun I was after.
And Dough-ing Deeper…
With the need for further fluffy buns, I was certain I would have to add sweetness, fat and protein from the egg and bump up the butter, along with added fat and lactose from the whey, it should work magic. So I landed on something that resembled a halfway house, somewhere between Milk Bread and Brioche.
Let’s break it down a little and deep dive into why these four ingredients affect the dough texture more than anything.
Sugar: Sugars love moisture. They’ll quickly dissolve in water and will hold onto that water. This is how they interfere with the hydration of flour. However, by holding onto water they can also help ensure a crust remains soft and it can keep bread moist for longer, protecting it from drying out. It also adds sweetness and affects the fermentation and texture of the bread. At about 175°C sugar starts to caramelise, turning a golden brown colour. During baking, sugar, amino acids, peptides and proteins go through a process known as the Maillard Reaction. Too much sugar can not only cause to a dough to brown too quickly, it can hinder the fermentation through osmosis.
Egg: Eggs contain fat (20%), protein, and emulsifiers, all of which can affect the texture and structure of the dough. The fat in eggs helps to tenderise the crumb and create a softer, more delicate texture, while the protein provides structure and stability to the dough. During baking the proteins set, providing extra structure and stability to a bread.
Additionally, the emulsifiers in eggs help to create a more cohesive dough by binding together the fat and water molecules in the recipe. This emulsifying property is from the lecithin naturally present in the yolk. Lecithin binds both water and fat, in an emulsion just like mayo (the condiment not the county). This can result in a more even, smoother crumb. Eggs also add flavour and colour to the bread, the proteins in eggs contribute to browning of the bread.
Butter: Butter adds flavour, richness, and tenderness to the final product. The fat in butter helps to coat the gluten strands in the dough, preventing them from developing too much and creating a softer, more tender crumb. Butter also contains water, which can help to hydrate the dough and create a more open, airy crumb.
Milk: Milk contains many components that can affect dough, including fat, protein, lactose, and minerals. The fat (and protein) in milk help to soften the crumb and create a more tender texture in the final bread. This is because the fat coats the gluten strands in the dough, preventing them from developing too much. The protein helps to add structure and stability to the dough. The lactose provides a source of food for the yeast, which can help to speed up fermentation, producing a light, fluffy loaf. Additionally, the minerals in milk, such as calcium, can help to strengthen the gluten in the dough, improving its elasticity and helping it to hold its shape. For even more on this, this nerdy website is a must knead.
By a process of searching for the balance, understanding the science between these key ingredients and implementing some changes in the recipe. After about five test bakes the overall softness, texture, and mouthfeel reached new heights. Not only was I chuffed to have found a new use for the whey, I was also excited by the possibilities of this incredible ‘hy-bread’. Something with all the lightness of Japanese milk bread and soft richness of brioche. I chalked the test bakes up as a success, and the delicious, creamy bun went on the menu as a chocolatey Easter special.
During these tests, I had always seemed to have a portion of dough left over. If you work in a bakery or have ever made a big batch of dough, no matter how accurate you are with your scaling there always seems to be this little bit of dough that doesn’t have a home. The baker’s secret - kept to round off for a bundle of burger buns, food for thought.
To How It’s Going Now
Since going through this recipe development and finding out a little more about the relationship that the ingredients have on softness, etc., I was curious to put this new hybrid bread to the test. To find its peak performance potential and see what other forms it could take with minimal adjustments!
I’ve been so pleased with the results we have decided the soft sticky cina-buns (below) will feature on the menu next weekend, just need to do some more sticky test bakes, and nail a cream cheese frosting, stay tuned…
No Whey-ste Japanese Milk Bread
Here's the final iteration of my Japanese milk bread buns and in the spirit of using up things I have included a few other ways that I like to use up that ‘spare’ dough.
Ingredients:
For the Yudane:
Bread flour: 60 g
Boiling whey (or milk): 60g
For the Bread:
Bread flour: 500 g
Yudane from above: 120 g
Sugar: 40g
Honey: 20g
Salt: 10g
Instant yeast: 7 g
Milk: 200g
Egg: 2 large, beaten
Unsalted butter: 50 g, softened
Method:
To make the yudane, mix the bread flour and boiling whey or milk in a bowl until a shaggy dough forms. Cover the bowl with a damp tea towel and let it rest at room temperature for at least 4 hours or overnight.
In a stand mixer with a dough hook attachment, add the yudane, beaten egg, and milk to the bowl.
Add the bread flour (I used Doves Farm strong white), sugar, salt, and instant yeast.
Develop the dough by mixing for 10 minutes on medium speed. You are looking to achieve 90% dough development. You should see signs of the dough cleaning the sides of the bowl.
Add the softened unsalted butter to the bowl and mix into the dough until it is fully incorporated, another 5-8 minutes.
Cover with a damp towel. Let it rise in a warm place for about 2 hours, until it has doubled in size.
Once the dough has risen, knock it back and shape it according to one of the following options:
*Note this is an intentionally large batch that makes just over 1kg of dough
For a Shokupan Loaf: Divide the dough into two equal balls, 350g each. Shape each ball into a tight round and then into a slight oval. Place these ovals into a buttered regular loaf pan to form a cute little butt. Let those cheeky buns rise somewhere warm for another 90 minutes. Preheat your oven to 180°C and bake the loaf for 30-35 minutes. The loaf should be golden brown and smell delicious.


Now, that leaves you with about 300g of play dough to do any of the following…
For Burger Buns/Filled Cream Buns: divide the dough into 4 x 75 gram balls. Shape each portion into a round bun. Place the buns on a baking sheet lined with parchment paper and let them rise for another 90 minutes. Preheat your oven to 180°C, egg wash or spray with water and bake the buns for 12–15 minutes, or until they are a light golden brown. Top tip for burger buns brush with butter while they are still hot from the oven. For filled buns let them cool completely, fill and chill again before glazing.
For Cinnamon Buns: Roll out the remaining dough on a floured surface into a large rectangle about 2 cm thick. Brush the dough with a mixture of softened butter, a sprinkle of cinnamon, ground cardamom, soft dark brown sugar and a pinch of salt. Roll up the dough into a tight long log and cut into 5-6 even buns. Beth O’Brien has a savage shaping video on her Instagram where she uses a bit of butchers twine to cut the buns. Place the buns, evenly spaced into a baking dish lined with parchment paper, cover and place in the fridge overnight.
Pull your buns out in the morning and let them come up to room temperature while you stick on a brew. Proof for another 30-45 minutes. Preheat your oven to 180°C and bake the buns for 20–25 minutes, or until they are lightly golden brown but still soft and pillowy. Cool for hot second before smothering in cream cheese glaze and gorge just in time for brew no.2!
For Donuts: Roll out the remaining dough on a floured surface to about 2 cm thick. Use a ring cutter to cut out as many round donuts as you can. I like to use a glass if you can’t find the ring cutters. If you want ring donuts, cut the center out with the lid off a water bottle. Then place them on a tray lined with parchment paper and a light flick of flour. Cover and allow the donuts rise for another 1.5 hours. Preheat your oil in a deep fryer or large pot to 165-170°C.
If like me, you forget to flour the parchment and you find they are stickicking, cut the parchment with a scissors into individual squares and plop gently into the oil. the parchment should peel right off. Fry the donuts for about 1.5 minutes or until they are lightly golden brown, turning them over once to ensure even cooking on both sides. Remove the donuts from the oil and drain on a kitchen roll before dredging them in sugar or filling with your favourite flavour (raspberry jam).


*Note: this recipe has a high amount of sugar overall when the honey is taken into consideration. And remember what we said about sugar caramelising at 175°C! So it can go from nice and golden brown, to burnt brown in the blink of an eye. Watch the doughs and those temperatures carefully, especially when frying these donuts.
This is just a few of my favourite ways to use this versatile dough. I imagine it delicious as hot dog buns, Maritozzi, dinner rolls and much more. Let me know what you make in the comments section.
Enjoy folks, lots of loaf x
Shane
LOVE you deep-diving into the whole what's and why's of baking! One question- would you be able to point to a good source that has cracked vegan baking? Unfrotunately, my BF decided to go vegan (I'm still in mourning 3 years on), and some traditional Latvian bakes like baked bacon pastries made of yeast dough I just haven't been able to re-create to be anywhere as light, soft and with a nice colour. Any pointers would be appreciated
I love the idea of making everything from scratch. Since the simple yoghurt to the savoiard biscuits for tiramisu.
I've already tried using the whey on my burger buns and they turned out fabulous. I also have used the whey on a sourdough butterkuchen, that I've also topped up with leftover almond solids of my almond milk for the streusel.
The wolrd of possibilities is endless and I really admire the people who can level up the creativity game with reusing and recycling.
Ps. Can't wait to try these buns next week